Stamina, dash into slide, slide hop, mantle and wall jump - the movement tech that decides fights, explained as mechanics.
Deadlock Movement Guide: Dash, Slide and Mantle
Deadlock has no mana and no paid sprint. What it has is stamina: three bars for most heroes, and every dash or air jump you burn is a decision you cannot take back for a few seconds. The fastest way across the map is not dash-slide-dash-slide. It is one dash-jump into a free slide, then free movement for the rest of the route, keeping the bars you held back for the fight at the end.
Official source: Minor Update - 06-30-2026, Valve on Steam News — the dash-jump figures below come from this note. Instant ability and item activation landed with City Never Sleeps on 2026-09-29.
What a stamina bar buys, and which moves are free
This is the whole system, and it is smaller than most players assume. Jumping, crouching, sliding and wall-jumping cost nothing. Everything else spends one bar per use, and a dash-jump is two actions, so it costs two.
| Action | Stamina | Notes |
|---|---|---|
| Jump, crouch | Free | Never touch the bar |
| Slide | Free | Speed comes from the slope, or a dash you already paid for |
| Wall jump | Free, but taxed | Costs regeneration time, not a bar |
| Ground dash, air dash | 1 bar | Dash-jump is a dash plus a jump |
| Extra mid-air jump | 1 bar | The second jump before you land |
| Dash-jump | 2 bars | The biggest burst in the game |
Baselines differ, so read your own crosshair rather than assuming. blast.tv's movement explainer and mobalytics' guide both put most heroes at three bars, Grey Talon and Ivy at four, McGinnis and Vindicta at two; deadlocklabs.gg independently lists Grey Talon's stamina at 4. The HUD only draws seven bars, so a higher bar from items still works and the dash-jump cue still fires when you cannot see it (forum report).
Spend bars on flat ground where terrain gives you nothing, and save slides, wall jumps and mantles for map geometry that works for you. That habit is the difference between arriving with options and arriving handcuffed.
Dash into slide: free speed you did not pay for
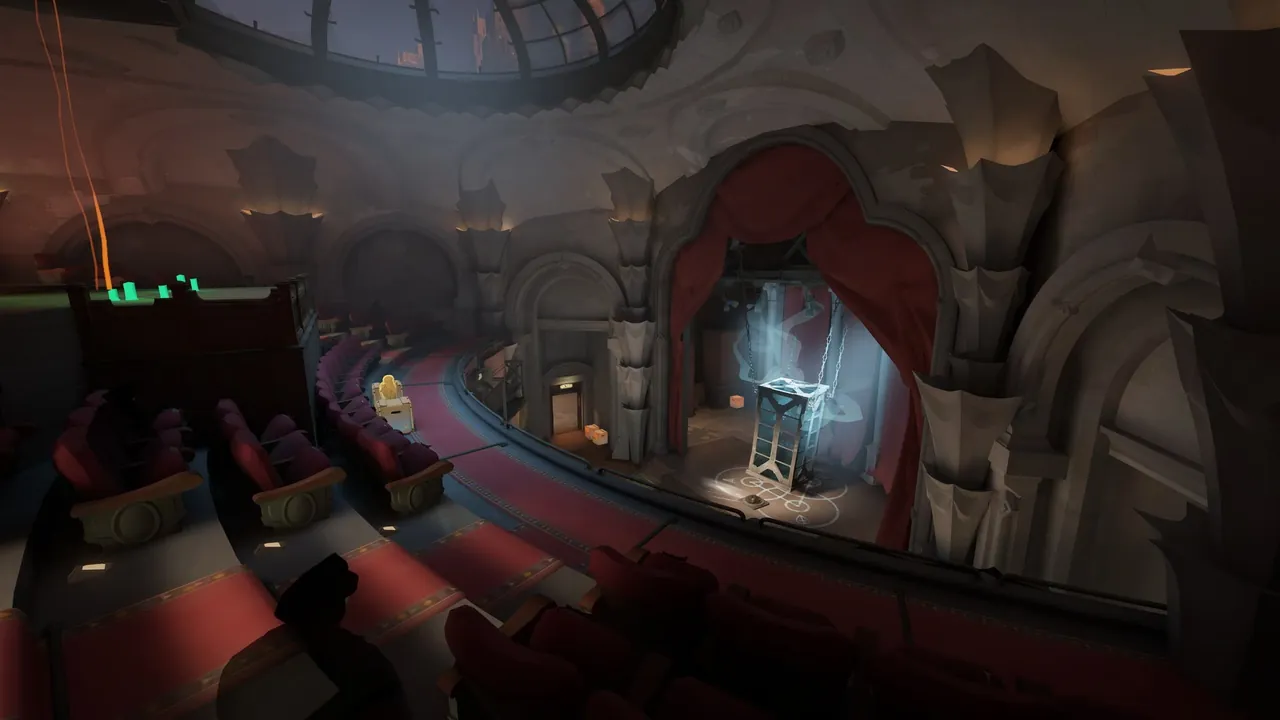
A slide is the cheapest movement in the game and the most terrain-dependent. Sliding on a slope costs nothing and builds speed; sliding on dead-flat ground gets you much less, which is why a straight dash-slide across an open lane feels worse than the same inputs on a staircase. The stairs in front of the lane Guardians are the standard example, and the Theater District auditorium above is full of balcony lips worth learning.
Two official changes made this better. On 2026-05-22, "Sliding no longer resets sprint speed", turning slides from a dead stop into a speed carrier. The move-speed diminishing ramp also moved out, first to roughly 11m and then to 12m.
Boostroom's movement guide flags community reports that jumping out of a slide entered from a pure ground dash does not always pop cleanly, and that micro-fixes helped on some builds but not all. If it feels sticky, start the slide from a sprint or a dash-jump, release crouch for a frame before jumping, or enter at a slight angle. Treat any timing you learn as build-dependent.
Dash-jump: the two-bar burst with a documented window
Dash-jump is the strongest single movement option and the one most often mistimed. You dash, and while the dash is running you jump. The gap is narrow, and the June 30, 2026 update widened and documented it:
| Dash-jump value | Before | Now |
|---|---|---|
| Input window | 0.2s | 0.25s (from 0.3s into the dash to 0.55s) |
| Distance | 18m | 19m |
| Vertical impulse | 400 | 425 |
A 2026-03-06 note added "increased air control (30% for 0.25s)", so a well-timed dash-jump can be steered into a head-height angle instead of committing to a straight line.
The cue most guides leave out: your stamina bar flashes blue during the dash, and that flash is your window. Valve has never documented the cue in the patch notes, so treat it as build-dependent, and press jump when the bar lights rather than at the start of the dash.
Slide hop and mantle slide: vertical speed for nothing
Valve enabled jumping during a slide on 2026-03-06, and that one line created a second layer of movement. Dash into a slide, then jump out: one bar buys a long flat burst and a hop that would otherwise have cost another. Mantle slides work the same way, and both are what the community treats as genuinely free.
It pays off hardest on heroes who convert air time into damage or positioning, worth more on Celeste and Shiv than on a hero who merely walks faster. Auto Mantle, an accessibility option added on 2026-09-29, handles low ledges for you, changing which mantle routes you must learn by hand.
Wall jump: the free reposition that taxes regeneration
A wall jump gives you a jump and a change of angle for zero bars, which makes it the most abused free tool in the game. Boostroom splits its combat use three ways: the corner juke, re-peeking from a different head level to punish someone pre-aiming your old position; the angle flip, which changes your shooting angle while your target has to readjust; and the escape extension, buying separation on a wall jump and holding the dash for later.
The cost is not paid at the moment of the jump. Since the 2026-05-22 patch, stamina regeneration is reduced by 25% for 5 seconds after a wall jump, which does not trigger out of combat and does not trigger if you mantle soon afterwards. Treat it as a soft cooldown: one wall jump in a fight is free movement, two in the same fight is a resource you will feel later.
For travel rather than combat, use the ziplines, now pingable from the HUD's target list. The map guide covers which districts have which slopes worth learning.
Why movement decides fights in a game with no mana
Abilities run on cooldowns, and cooldowns do not care that you just needed to be somewhere else. Stamina is the only resource limiting when you can move, and that makes movement the deciding skill rather than a cosmetic one: the player who arrives with two bars still has a dash and a dash-jump in the fight, while the player who spent everything crossing the lane has a slide and nothing else.
Two patches sharpened that. On 2026-09-16, all move-slow values were cut by roughly 20% and ground dash slows by roughly 10%, while slows began to affect air drag by 35% of their value, so being slowed now bleeds far more of your air momentum and rewards committing to movement tech instead of fighting at walking pace. On 2026-07-28, the slowest stamina bucket, shared by two-bar heroes, had its ground dash extended from 0.7s to 0.72s and its air dash from 0.49s to 0.51s.
Rotation is where this compounds. The Patron and objectives guide explains what you are rotating toward, and the souls guide why arriving early beats arriving loaded. New to the game? Start with the first three matches guide.
FAQ
What's the fastest way to move with 3 stamina bars? Dash, slide repeat?
Dash-slide repeat is the intuitive answer and it is wrong. Three dashing actions is all three bars, and you arrive at the objective empty. The efficient line is a single dash-jump into a slide, which costs two bars and carries you further than two dashes because the slide keeps the momentum, then spend the third bar only if the fight actually starts. For pure travel, use the ziplines and keep the bars entirely.
Does sliding cost stamina?
No. Slide, jump, crouch and wall jump are the four free actions, per blast.tv's breakdown. The stamina a slide appears to cost was already spent on the dash or sprint that got you into it.
Does any of this depend on my keybinds or settings?
No. Every mechanic here is identical regardless of your layout, and settings only change how smoothly you execute it. That is a performance problem, not a movement one.
Related Guides
- Deadlock Map Guide: Lanes and the New Districts — where the slopes are.
- Deadlock Beginners Guide: Your First Three Matches — the laning foundation.
- Deadlock Patron Guide: How Matches Actually End — what you rotate toward.
- Deadlock Souls Guide: Farming, Last Hit and Deny — why route speed pays.
- Deadlock Street Brawl: 4v4 Mode Rules and Rounds — different movement priorities.
More Deadlock Guides
The Broker ran Sept 29 to Oct 2, 2026 and is gone with Rat King's release. What Corrupted items were, what they did, and what to do now.
Startup crashes, random freezes mid-wave, black screens and the access-violation crash - an ordered fix list, cheapest step first.
Haunts replaced neutral camps in the Sept 29 patch. Nine families across roughly 40 camps, three tiers, and the in-game respawn timer added this update.
How many heroes Deadlock has right now, who the 2026 vote rounds added, and how to pick a role instead of memorising a tier chart.
You cast one hero vote per Standard or Street Brawl match at the Pregame ballot box. The winning team counts double, first win of day doubles again.
Every tier list is stale within a patch. How to judge strength from mobility, damage and role fit instead of copying a chart.
Rat King landed Oct 2. The next five City Never Sleeps heroes drop Tuesdays and Fridays at 2pm PT through Oct 20, in the order players vote.
Deadlock is CPU-bound on Source 2. Shader cache, launch options, and the graphics settings that actually move teamfight frames.